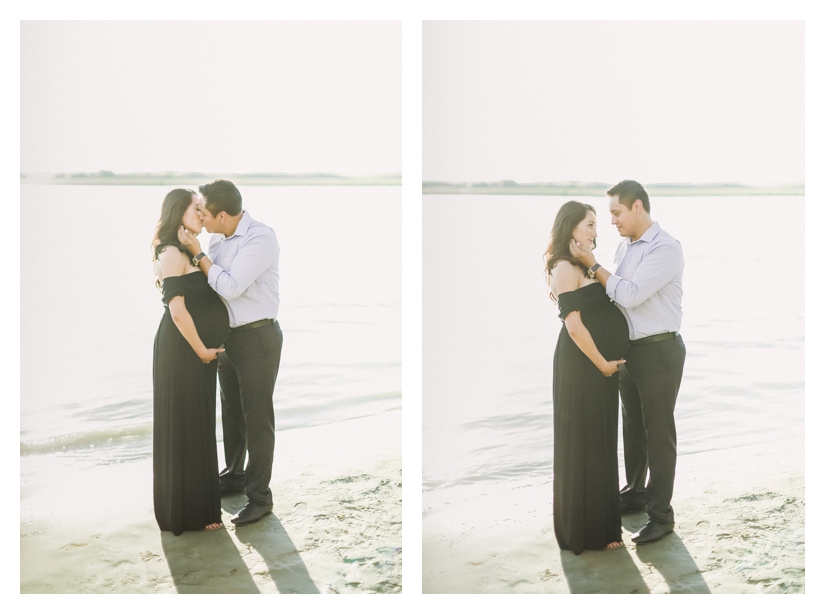
Once upon a time...about 1 year ago I was in search of how to get my digital images to look more like film. Film was popping up everywhere & it looked amazing. I loved the versatility & magical quality of it.
I was tempted to go buy a film camera but I'd just invested $3400 on a Canon Mark III & I knew buying another $3500+ camera might entice my husband to murder me.
When trying to make digital emulate film I think an important disclosure is that nothing is going to be exact so don't expect that but you can get it really close...close enough people will wonder. Here's a few things we will discuss to get you headed in the right direction:
1. Using film emulating presets
2. Camera calibration & tone curve Settings
3. Changing your settings in camera
4. Shooting with gear that gives you more film like results
5. Hacking your camera with Dual ISO
Using Film Emulating Presets
A great thing beyond the dynamic range (how much range the camera can show from the darkest to lightest points in the image) of film is the color.
When you have a few hundred images from a wedding to turn around, not having to edit every single image for basic color is huge. There are two major film types you see everyone shooting & trying to emulate, which is Portra 400 & Fuji 400H.
With these films the skin tones are more a more distinct orange tone & greens are typically more blue based (rather than the yellow in digital).
So the first way you can achieve these color differences in digital photography is using Presets.
There's plenty of different versions of film presets out there now but popular ones are Replichrome & VSCO. They're great and have lots of options but can be a bit spendy.
You can also try making your own by watching online tutorials, there's tons available. You can watch the one I made
here.
Or check out my version of
film presets here, available for $7-10 in my shop.
When using presets its important to note that you wont get the best results unless you start with a correct exposure & white balance. I also recommend applying the presets on RAW files & not Jpegs. Also, there isn't a single preset, mine, VSCO or Replichrome thats going to be click and go everytime. You will need to do minor adjustments to white balance and tones but they will definitly get you started.
Tone Curve & Camera Calibration Settings
HIGHLIGHTS:
I suggest making these changes in camera raw but you can also do this in Lightroom.
With the edits, one of the main things about film is the push towards brightness and blacks without sacrificing detail.
You can do this by brightening the exposure & then bringing the highlights slider to the left to control loss of detail in the brighter areas. You have two areas that control your highlights. One in the basic adjustments panel and another in the tone curve panel. Play with both to see which you prefer. Typically the first is the better one to start with.
You also have a whites slider in your basic panel that you'll want to slide to the right typically to add a bit of pop to your whites.
TIP:
Make sure not to over-brighten your image & take into account if your monitor has the brightness turned up or down (calibrating it is the best way around this issue) because that can really alter the way everyone else see's your image.
SHADOWS:
Now take the shadows slider found in the basics panel & lift your shadows by moving the slider to the right. Next lower the contrast with the contrast slider by sliding it to the left slightly.
Next take the blacks slider or the darks in the tone curve panel and moving them to add contrast back in.
Another great adjustment is the clarity slider found under your basic panel. Taking that down to somewhere aournd -10 helps to emulate the softness found in film.
GETTING FILM LIKE COLOR:
To do this you can edit either the tone curve red, green & blue channels from the tone curve panel or you can use camera calibration. For tone curve you will click on the little icon in the bottom right of that panel area, see the image for example:
Next click channel & change from RGB to the different channels & adjust them to match the color tones of film.
Now maybe this is overwhelming & most likely what will happen is you'll find something you like but it wont be anything like film. This is not an easy step & you have to be able to see colors in the highlights & lowlights & know that combinations of colors will = whatever result.
So if this is too difficult don't worry, save whatever cool thing you came up with as a new crazy preset & enjoy it & let's move on to the next method.
The other method but is using camera calibration which is the last section in your tool panel.
Here you can move the slider left & right to adjust the overall colors in your picture. Red looks good moved to the right.
Greens typically looks good moved to the right as well to add more blues in the greens like in film.
You can adjust the saturation down or up for both as needed as well.
You will find that moving one slider will make you need to adjust the others to compensate & find balance again. Play around with them & find something you like. You can also go up to your hue, balance, saturation panel and adjust colors further.
I could go into detail about how much or little to move these but the best thing you can do is compare it to a film image you took the same day or find one online that has a similar light & color palette to yours & work your colors to match.
Now that you did all that, you need to frost the cake as I say. You got a good thing going, but it needs the final polish. To really hone in on the film look adjust three final things.
ADDING GRAIN:
The first is the grain amount, which you'll find in the effects panel. Film has grain so having no grain means your picy no looky like film. Play around with it & make sure your zoomed in to about 50-75% so you get a good grasp of the amount your adding.
Get it Right in Camera
Highlight Priority Mode:
Start by setting your (Canon) camera to Highlight Priority Mode which is a setting in your camera menu (
If you have an entry level or older Dslr you might not have this). This setting helps retain detail in the highlights of your image which consequently allows you to shoot a little brighter exposures without blowing things out. This setting also adds noise to the shadows but film has grain so I think this just adds to it.
Exposure:
The next obvious setting is your exposure. Don't obliterate all detail by overexposing all of your images but do bump it up.You can set your blown highlight warning (
located in your camera menu) to flash or use the histogram on your camera to make sure you don't over do it.
Shoot Raw:
Another setting to use is to shoot in RAW. This is important because you'll be editing the images in post to get the film look & doing this in RAW, as stated above, let's you adjust the settings almost as good as if you did it in camera.
Styles:
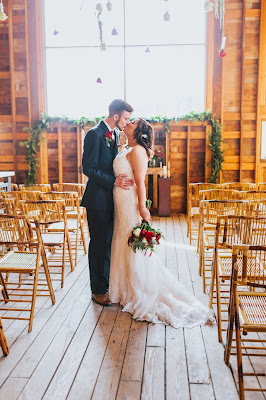
Lastly, play around with the style setting. You can either set it to 'Faithful' which puts the contrast, saturation, sharpness & color tone to 0, or do what I prefer which is to to bring down the saturation & contrast one notch...find what works for you based on what look your trying to achieve.
Shoot Right
Choose the Right Lens:
Start with a good lens. Some lenses as you may have noticed, give you different amounts of contrast, colors, compression etc. Put every lens you own on your camera & take the same picture. Now compare the images on your computer. What lens gives you a better film look? For me the answer is both longer & prime lens's. Longer lens's compress the background & make the subject really stand out giving the image more dimension like film. A 100mm or 85mm would fit that description. I use an 85mm & shoot at wider apertures of 2.8 & below often for this reason.
*Also worth noting, is that most of the film images you see are shot at 85mm, so using the same focal length helps mimic the feel.
Find Good Light:
Next, shoot in good light. Open shade, window light, any softer light is great. Film has great light so if your taking a ton of pictures in terrible light your only making it harder for yourself because its one more thing you have to fix & it's the hardest thing. Harsher light is harder to make look like film because you'll have the shadows & blown highlight thing to fix that we talked about above. It can be done but it's just easier not to go there in my opinion. In situations like a wedding where you have no choice but to shoot in crappy light because of candids or where things are setup, then that just is what it is.
Use Fill Light:
Make sure to use a reflector or fill light if you can too. This will give you another layer of good light, filling in shadows & bringing attention to whatever it is your shooting, adding another layer of dimension. The white part of your reflector will give you a softer fill like film but you can also use bounced natural light from a large source or use your flash turned all the way down & heavily diffused.
Stylizing:
Lastly some colors just photograph nicer & will give you the softer look you see in film. You'll notice a lot of pale colors like pinks & blues, metallic's, creams & blacks because they photograph so nicely.
Hack it Up
The D800 from Nikon, is rated as having better dynamic range so if you have one of those you're already ahead of me & other's with a Mark III. If you don't have a Nikon D800 but you want a comparable dynamic range then you can hack your camera.
Magic Lantern came up with Dual ISO which allows you to tap into a better dynamic range by sampling half of the sensor at ISO 100 & half the sensor at a higher ISO giving you closer to 14 stops. I'll be honest though, I'm not sure how I feel about it. There's extra steps you have to take to process the images & I think you sacrifice quality in doing this & then there's the fact that you're tinkering with such an expensive camera which kinda scares me.
Maybe Ill dare to try it in the future, but you can see for yourself in the meantime by watching this video I found which shows what you'd normally get with a Raw SOOC image versus the Dual ISO image & then research the pros & cons more for yourself & decide: